
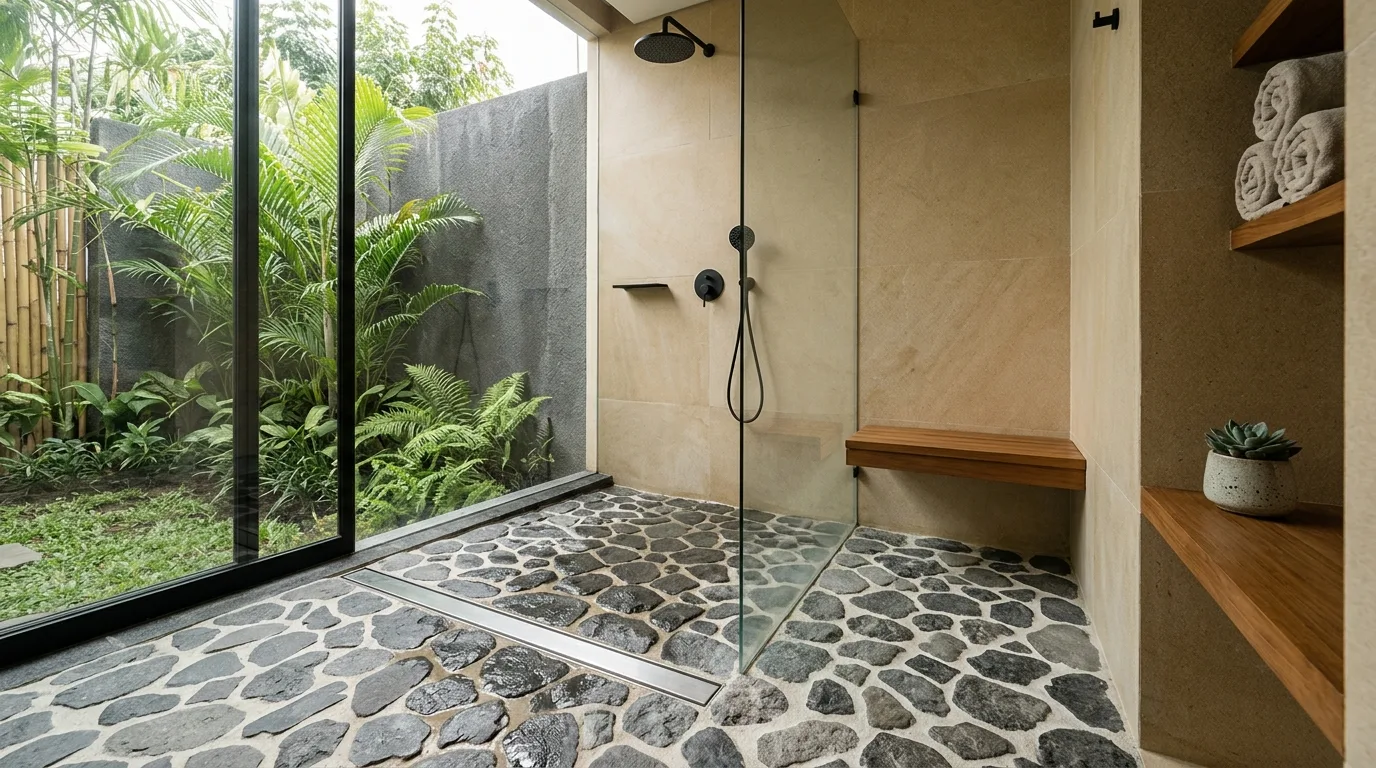
A shower floor is where the relationship between natural stone and everyday use becomes especially direct. Feet, water, slope, grout lines and cleaning routines all interact on a relatively small surface. Choosing a stone only from a wall sample can therefore miss important questions about the floor.
Texture matters underfoot
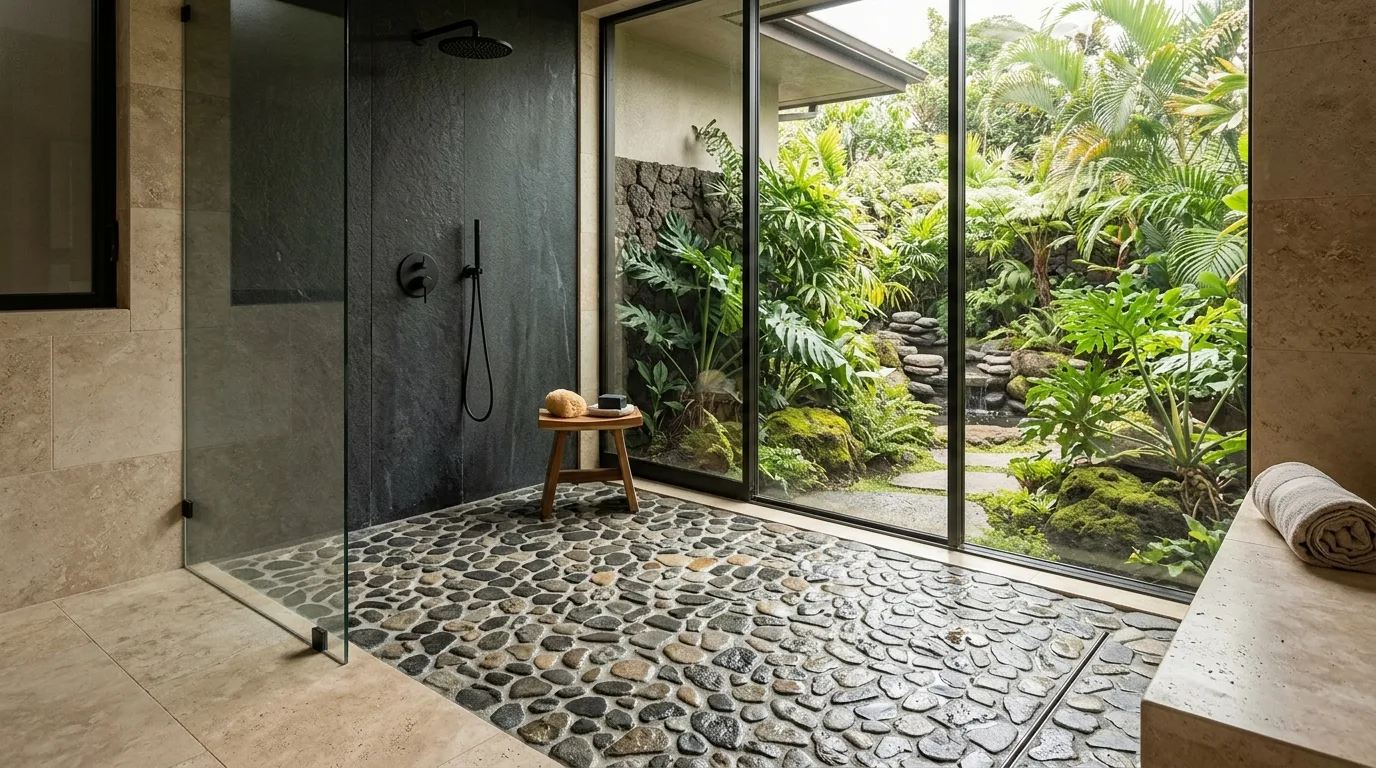
The shower floor is not simply a smaller version of the wall. Water, bare feet and the slope toward the drain make surface character particularly important. Review the actual finish intended for the floor rather than selecting solely from a polished wall sample.
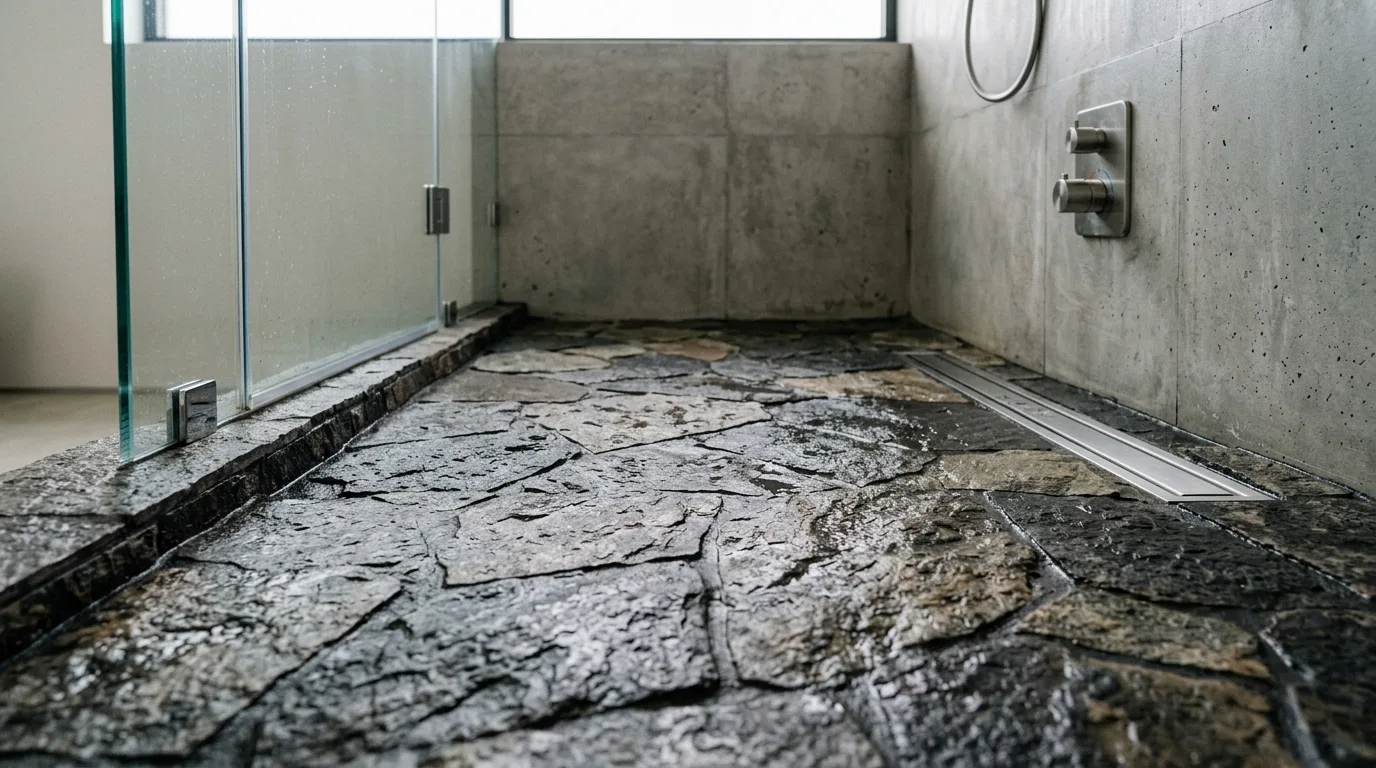
Format affects the slope
Smaller tiles create more joints and can make it easier to follow a shaped shower floor. Larger pieces reduce joints but may require more complex cuts around a central drain or changes in plane. The drainage design should be known before the format is finalized.
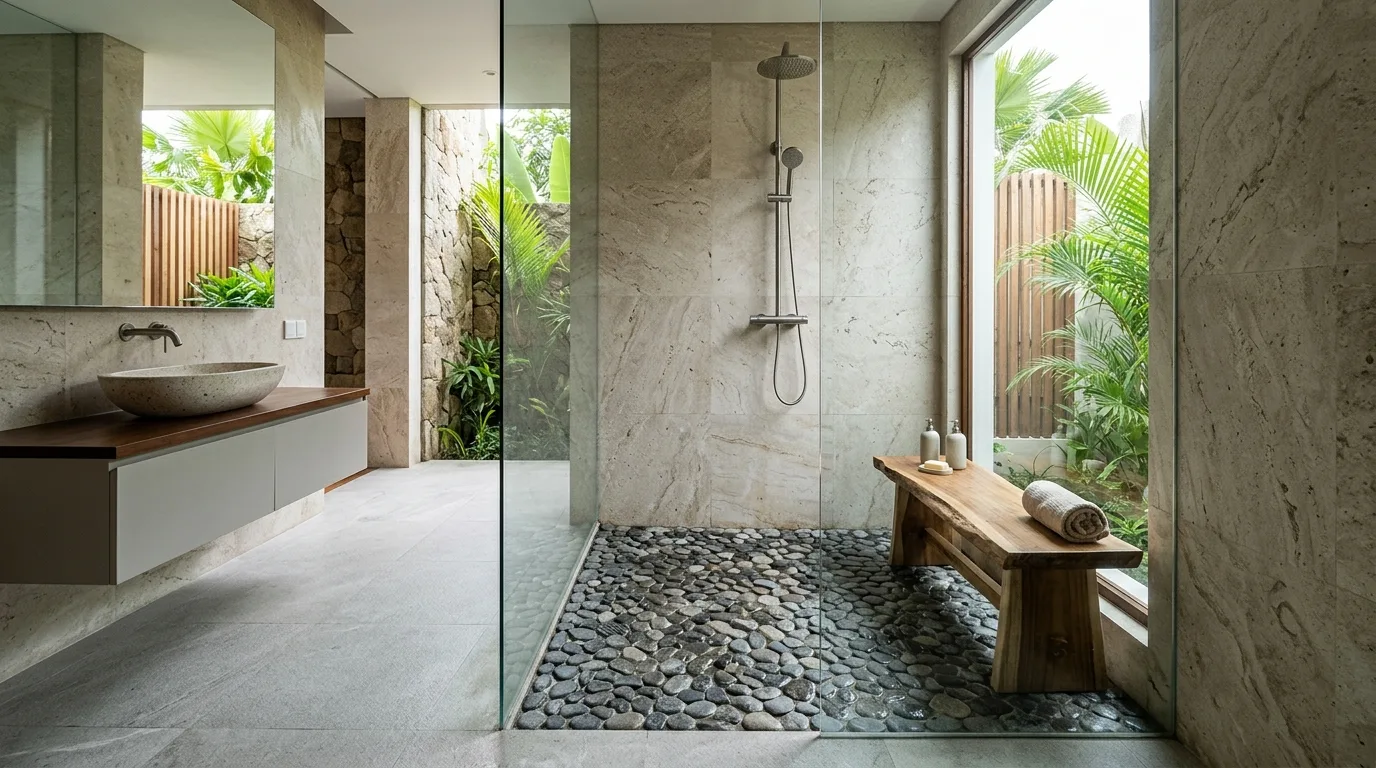
Drainage and joint planning
Water must move toward the drain without unwanted low points. Joint lines can become part of the layout, so align them deliberately where possible. A technically correct slope can still look untidy if cuts are scattered without a plan.
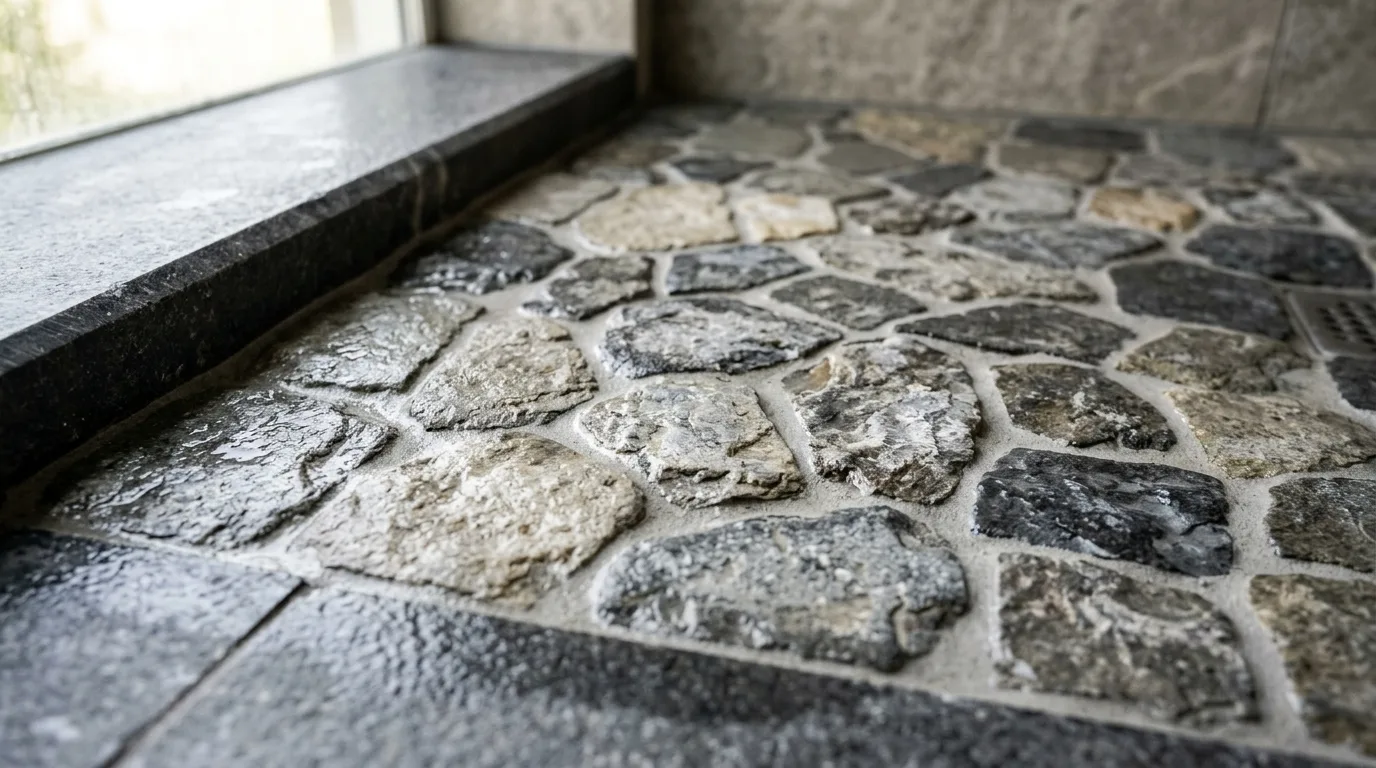
Cleaning considerations
More joints mean more grout to maintain. Textured surfaces can also hold more residue than smoother finishes. Ask for a realistic cleaning routine and consider how the shower will be used every day.
Sealing and stone-specific care
Natural stone types differ, so maintenance should be based on the actual material and finish. Confirm whether sealing is recommended, how often it should be reviewed, and which cleaning products are appropriate.
Sample the wet-area combination
Review stone, grout and lighting together. Water can deepen the apparent color of a stone, while grout can either emphasize or soften the joint pattern. A physical sample is especially useful for high-variation materials.
Edge and threshold details
The shower floor meets walls, thresholds and drains. These interfaces should be coordinated with waterproofing and the stone layout. The visible stone edge should not be treated as an afterthought.
Checklist before installation
Confirm the stone, finish, module, slope, drain type and location, grout, waterproofing system, threshold detail, sealing guidance and maintenance instructions. The best floor is the one whose visual and practical requirements have been considered together.
Key points to include in the project brief
- Factor: Surface texture — Affects underfoot character and cleaning.
- Factor: Format — Affects slope and drain layout.
- Factor: Maintenance — Defines cleaning and sealing expectations.
Questions to answer before ordering
Why is a shower floor different from a stone shower wall? The floor must manage slope, water, foot contact and drainage. Format, texture and joint layout therefore have different implications from wall tile.
Final takeaway
The right way to approach natural stone shower floor is to connect design intent with a specific application and a clear specification. Natural stone is a variable material, so samples, dimensions, finish, installation details and maintenance expectations should be agreed before production. For project sourcing, the same clarity should continue through quality control, packing and delivery.
The drain sets the geometry
The position and shape of the drain influence the entire floor layout. With a central drain, multiple slopes may meet around one point; a linear drain can allow a simpler plane. The tile module should be chosen after the drainage strategy is understood.
Small-format does not automatically solve every problem
More pieces can follow slope changes, but they also introduce more joints. The ideal format balances drainage geometry, comfort, cleaning and the visual character of the room.
Grout is part of the floor specification
Joint width, grout type and color influence both appearance and maintenance. A high-contrast joint can make a small floor look busier, while a closer tone can create a more continuous field.
Inspect a sample assembly
For an important bathroom, create a small sample showing stone, grout and the proposed finish. This helps the owner and designer understand the actual underfoot character before committing to the full installation.
Water behavior should be tested conceptually before installation. Look at where the slope begins, where the drain sits and how each stone piece meets the adjacent wall. If a patterned stone is used, decide whether the pattern should be aligned or allowed to vary. The installer also needs enough information to understand the intended finished levels. These decisions are difficult to correct after the floor has been installed, so they belong in the planning stage.
Water behavior should be tested conceptually before installation. Look at where the slope begins, where the drain sits and how each stone piece meets the adjacent wall. If a patterned stone is used, decide whether the pattern should be aligned or allowed to vary. The installer also needs enough information to understand the intended finished levels. These decisions are difficult to correct after the floor has been installed, so they belong in the planning stage.
Water behavior should be tested conceptually before installation. Look at where the slope begins, where the drain sits and how each stone piece meets the adjacent wall. If a patterned stone is used, decide whether the pattern should be aligned or allowed to vary. The installer also needs enough information to understand the intended finished levels. These decisions are difficult to correct after the floor has been installed, so they belong in the planning stage.
Water behavior should be tested conceptually before installation. Look at where the slope begins, where the drain sits and how each stone piece meets the adjacent wall. If a patterned stone is used, decide whether the pattern should be aligned or allowed to vary. The installer also needs enough information to understand the intended finished levels. These decisions are difficult to correct after the floor has been installed, so they belong in the planning stage.
Water behavior should be tested conceptually before installation. Look at where the slope begins, where the drain sits and how each stone piece meets the adjacent wall. If a patterned stone is used, decide whether the pattern should be aligned or allowed to vary. The installer also needs enough information to understand the intended finished levels. These decisions are difficult to correct after the floor has been installed, so they belong in the planning stage.
Before the specification is finalized
For procurement, specify the shower floor separately even when the same stone family is used throughout the bathroom. State the intended finish, module, joint approach and drainage relationship. This gives the installer a clear starting point and prevents the floor from becoming an improvised variation of the wall treatment.
For project teams, this final review is a useful moment to confirm the approved sample, dimensions, finish, quantity, installation area and delivery assumptions. Keeping those decisions together gives the supplier, designer and contractor the same reference and makes later changes easier to track.
If the shower contains several floor zones, keep the drainage logic consistent. Small changes in level or direction can become noticeable when the stone joints are not aligned. Coordination between the tile layout and drainage drawing is therefore worth resolving before fabrication begins.
Carefully.