
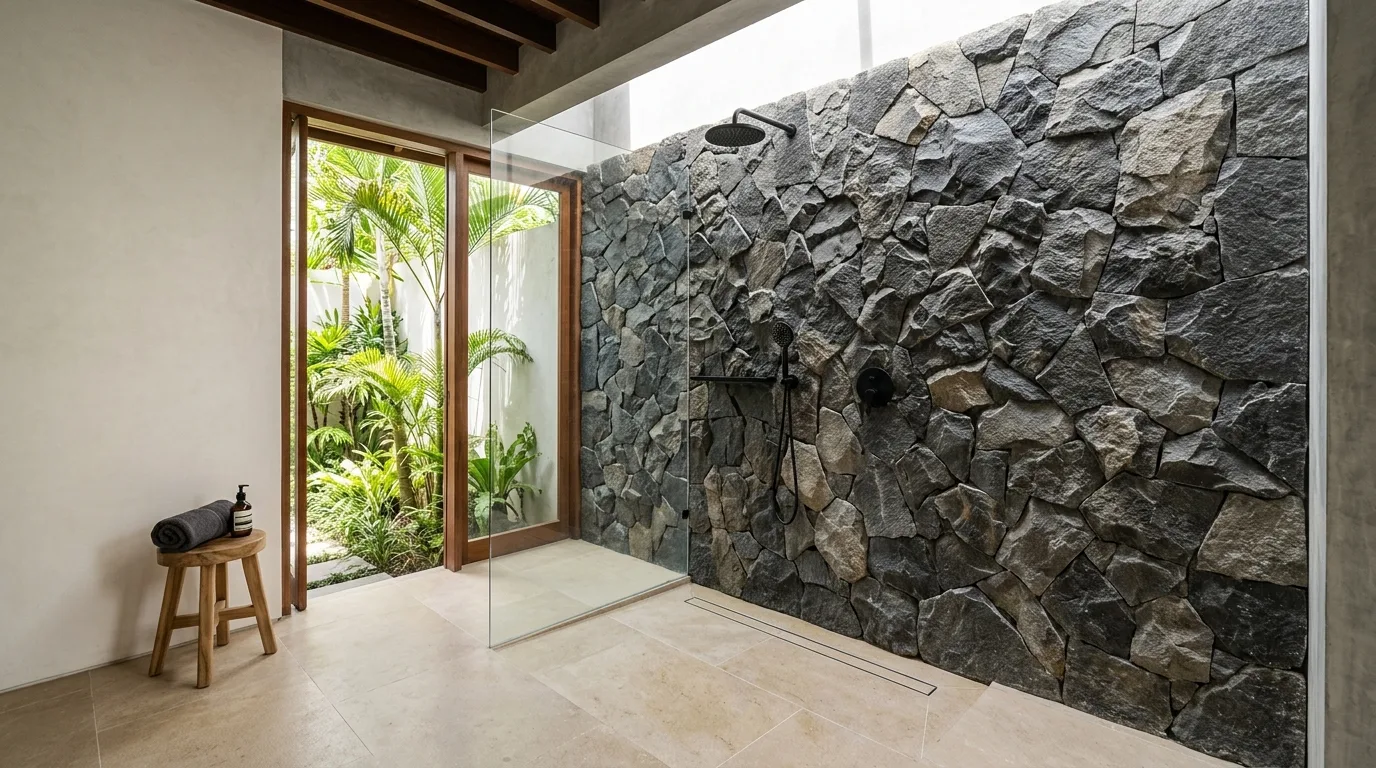
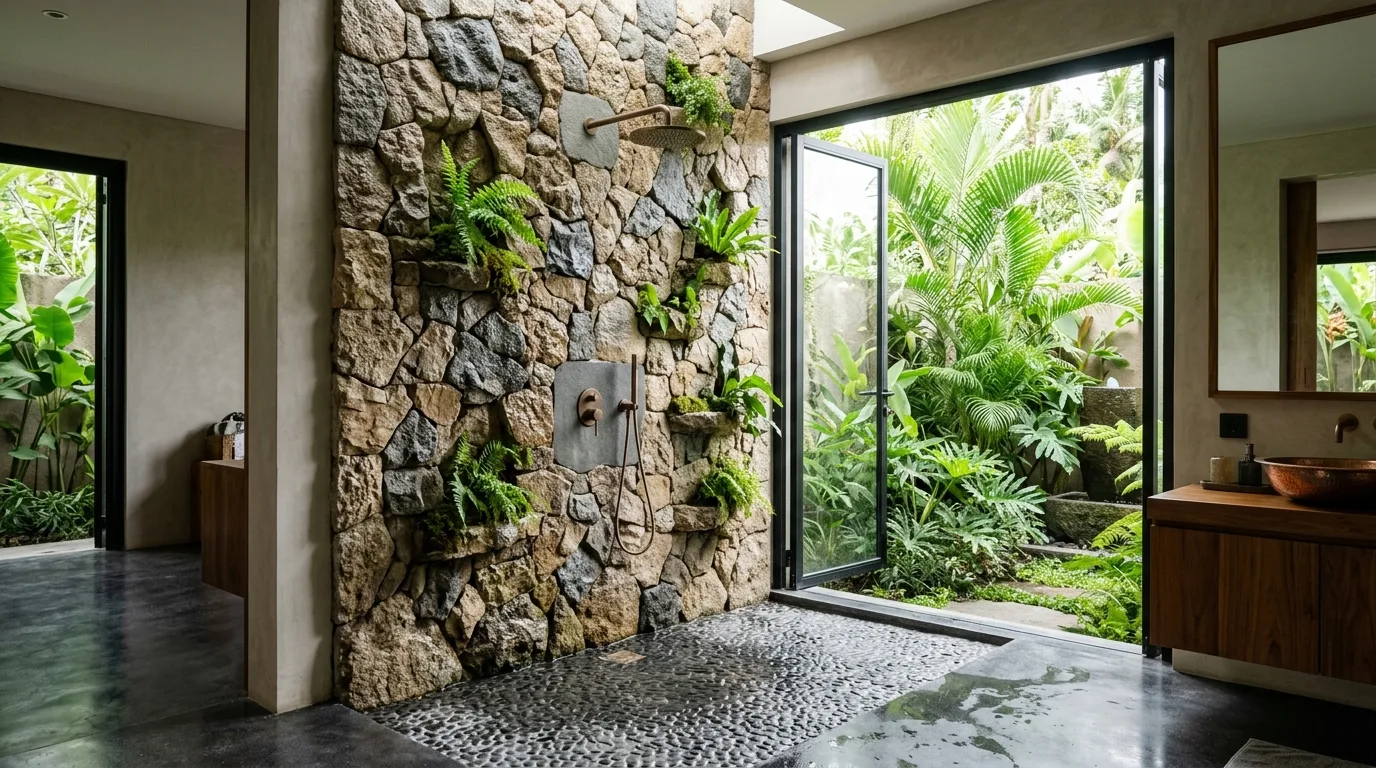
Shower walls provide more freedom for architectural expression than the floor because the surface is mainly viewed rather than walked on. That makes scale, texture, tile orientation and joint rhythm particularly important. A textured natural stone wall can become a quiet focal plane when the detailing is controlled.
Choose the wall's role
A shower wall can be a quiet background or a feature plane. Decide early which it should be. If the stone is highly textured, using it on one wall may create a stronger composition than repeating it across every surface.
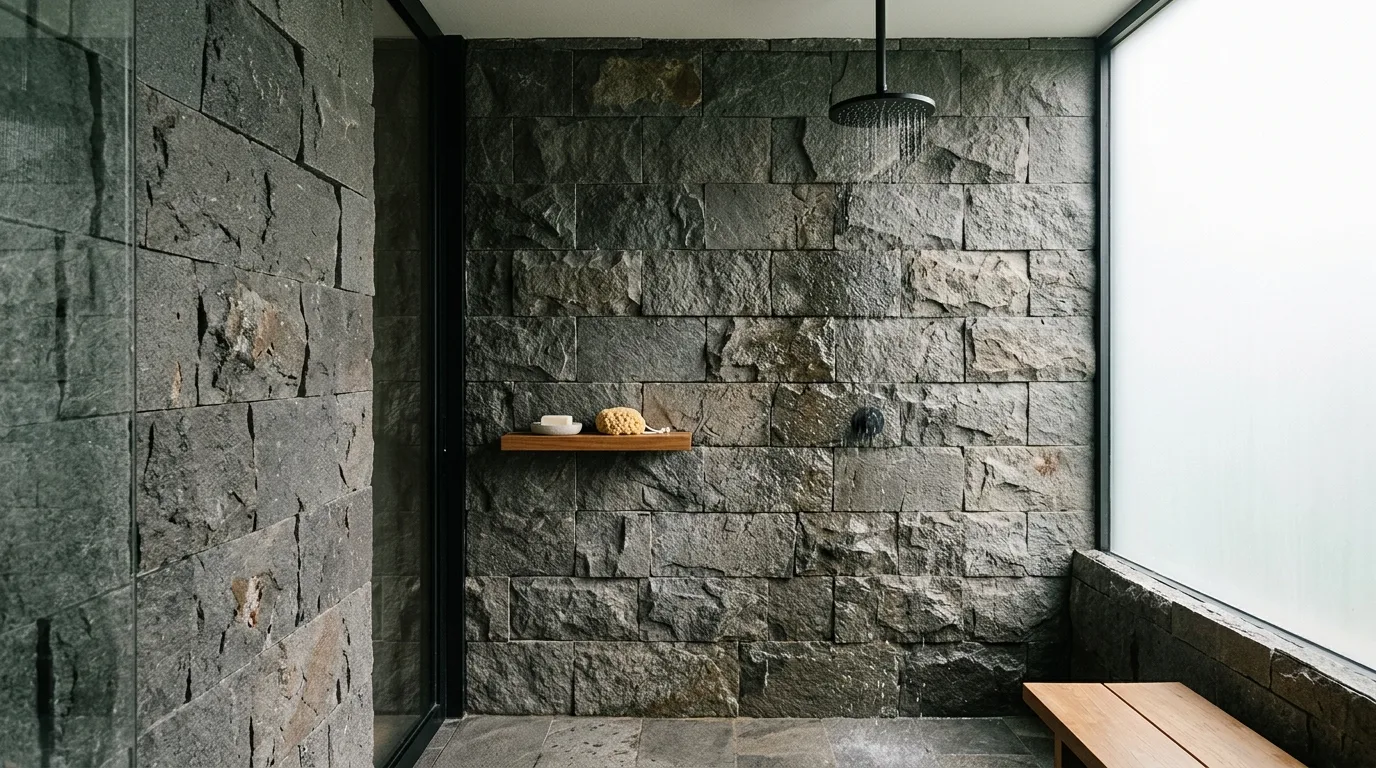
Scale changes the perception
Small tiles create frequent joints and a more detailed reading. Larger tiles emphasize broad material planes. Split-face or other relief-heavy products can introduce shadow and depth but may require more careful cleaning.
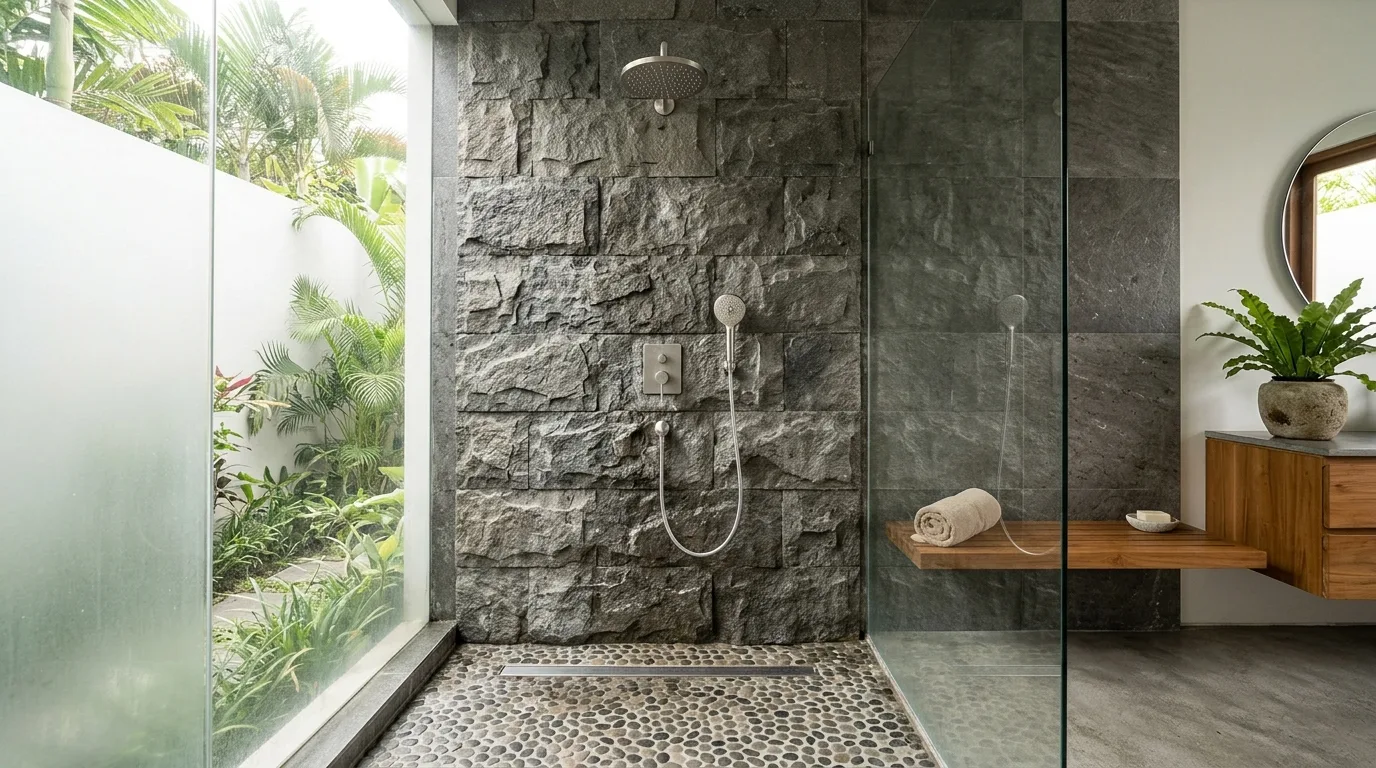
Orient the pieces deliberately
Horizontal, vertical and stacked layouts produce different visual effects. Vertical joints can emphasize height, while horizontal courses can visually widen a compact shower. Let the room's proportions guide the orientation.
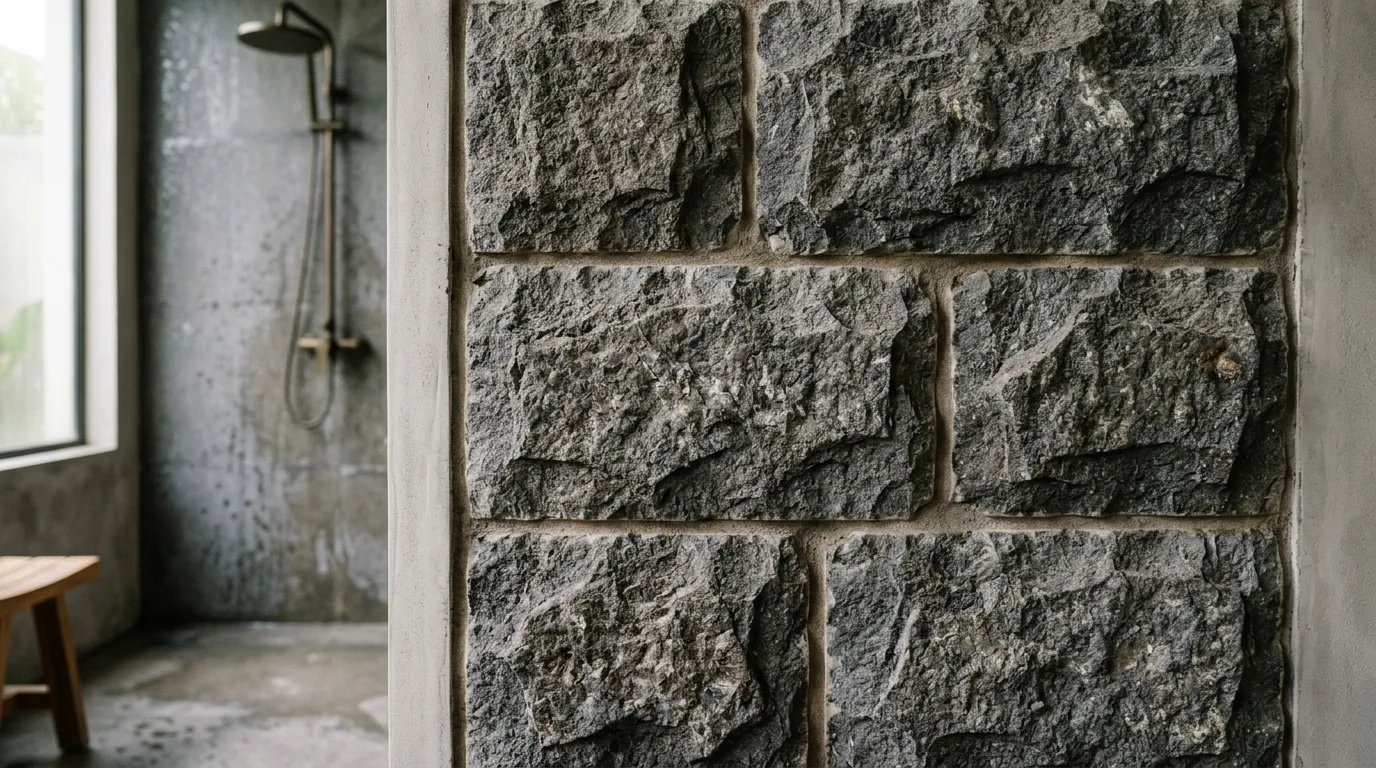
Coordinate niches
A niche interrupts the wall, so its position should align with the tile module where possible. Carrying the stone into the niche can create continuity, while a contrasting interior can make it a deliberate accent.
Corners need a strategy
Natural stone has visible edges and variation. Decide whether corners use mitered edges, trim, a finished edge piece or a controlled transition. The right choice depends on the product and the desired visual language.
Texture versus maintenance
Deep relief creates attractive shadows but can make cleaning more involved. In a frequently used shower, consider whether the desired texture is practical for the owner's routine.
Lighting reveals relief
Wall washers and directional lighting can dramatically increase the visibility of texture. Test the sample under the intended lighting if the wall is designed as a feature.
Keep the rest of the room disciplined
A textured shower wall needs visual breathing room. Quiet flooring, simple hardware and controlled accessories can allow the stone to remain the focus without making the bathroom feel busy.
Key points to include in the project brief
- Choice: Large format — Quiet visual plane.
- Choice: Small format — More joint rhythm.
- Choice: Textured relief — Strong shadow and tactile character.
Questions to answer before ordering
How can a textured natural stone shower wall be kept balanced? Use a clear focal wall, controlled surrounding materials, deliberate tile orientation and lighting that reveals texture without making every surface equally busy.
Final takeaway
The right way to approach natural stone shower wall is to connect design intent with a specific application and a clear specification. Natural stone is a variable material, so samples, dimensions, finish, installation details and maintenance expectations should be agreed before production. For project sourcing, the same clarity should continue through quality control, packing and delivery.
Use texture selectively
A textured wall can become the architectural feature of a shower, but repeating strong relief on every wall may reduce visual calm. One feature plane paired with quieter surfaces often gives the material enough space to be appreciated.
Joint rhythm matters
Even beautiful stone can look disorganized if joints stop and start without a reason. Establish a module that works around shower controls, niches and corners. Aligning important horizontal or vertical lines can make the installation feel more precise.
Consider the viewing distance
A texture that looks subtle in a small sample may become dominant when installed across a full wall. Review the material at both close range and room scale. Lighting should also be considered because shadows can increase the apparent relief.
Detail the perimeter
The shower wall meets ceiling, floor, screen and adjacent walls. A clear perimeter strategy prevents exposed raw edges or awkward transitions. These details should be included in the drawing before installation.
A useful way to control a textured wall is to establish one dominant direction. Horizontal courses can emphasize width, while vertical alignment can reinforce height. If the product itself is irregular, the installer may need guidance on distribution rather than an exact repeating pattern. The objective is a wall that feels naturally varied but still belongs to the geometry of the room. A sample panel can reveal whether the proposed texture and joint rhythm are appropriate before the entire shower is built.
A useful way to control a textured wall is to establish one dominant direction. Horizontal courses can emphasize width, while vertical alignment can reinforce height. If the product itself is irregular, the installer may need guidance on distribution rather than an exact repeating pattern. The objective is a wall that feels naturally varied but still belongs to the geometry of the room. A sample panel can reveal whether the proposed texture and joint rhythm are appropriate before the entire shower is built.
A useful way to control a textured wall is to establish one dominant direction. Horizontal courses can emphasize width, while vertical alignment can reinforce height. If the product itself is irregular, the installer may need guidance on distribution rather than an exact repeating pattern. The objective is a wall that feels naturally varied but still belongs to the geometry of the room. A sample panel can reveal whether the proposed texture and joint rhythm are appropriate before the entire shower is built.
A useful way to control a textured wall is to establish one dominant direction. Horizontal courses can emphasize width, while vertical alignment can reinforce height. If the product itself is irregular, the installer may need guidance on distribution rather than an exact repeating pattern. The objective is a wall that feels naturally varied but still belongs to the geometry of the room. A sample panel can reveal whether the proposed texture and joint rhythm are appropriate before the entire shower is built.
A useful way to control a textured wall is to establish one dominant direction. Horizontal courses can emphasize width, while vertical alignment can reinforce height. If the product itself is irregular, the installer may need guidance on distribution rather than an exact repeating pattern. The objective is a wall that feels naturally varied but still belongs to the geometry of the room. A sample panel can reveal whether the proposed texture and joint rhythm are appropriate before the entire shower is built.
Before the specification is finalized
A good shower wall is not necessarily the most textured wall available. The right choice is the one whose relief, color and scale support the room. Review a representative sample at the intended viewing distance, then resolve corners, niches and lighting before committing to the full quantity.
For project teams, this final review is a useful moment to confirm the approved sample, dimensions, finish, quantity, installation area and delivery assumptions. Keeping those decisions together gives the supplier, designer and contractor the same reference and makes later changes easier to track.
The wall should also be reviewed with the shower hardware in place conceptually. Controls, rain heads and glass screens can interrupt the stone field. Positioning them with the joint layout in mind can make the finished installation look considerably more deliberate.
Carefully.